Sunday, April 18, 2010

Cable Car Project

Cable Car: Model!


This project is fun for me because you get to have a partner and can emerge two styles into your cable car design in one and you also get to learn and establish teamwork as far as whos doing what and whos buying supplies. Anyways, I am very satisfied with our model!
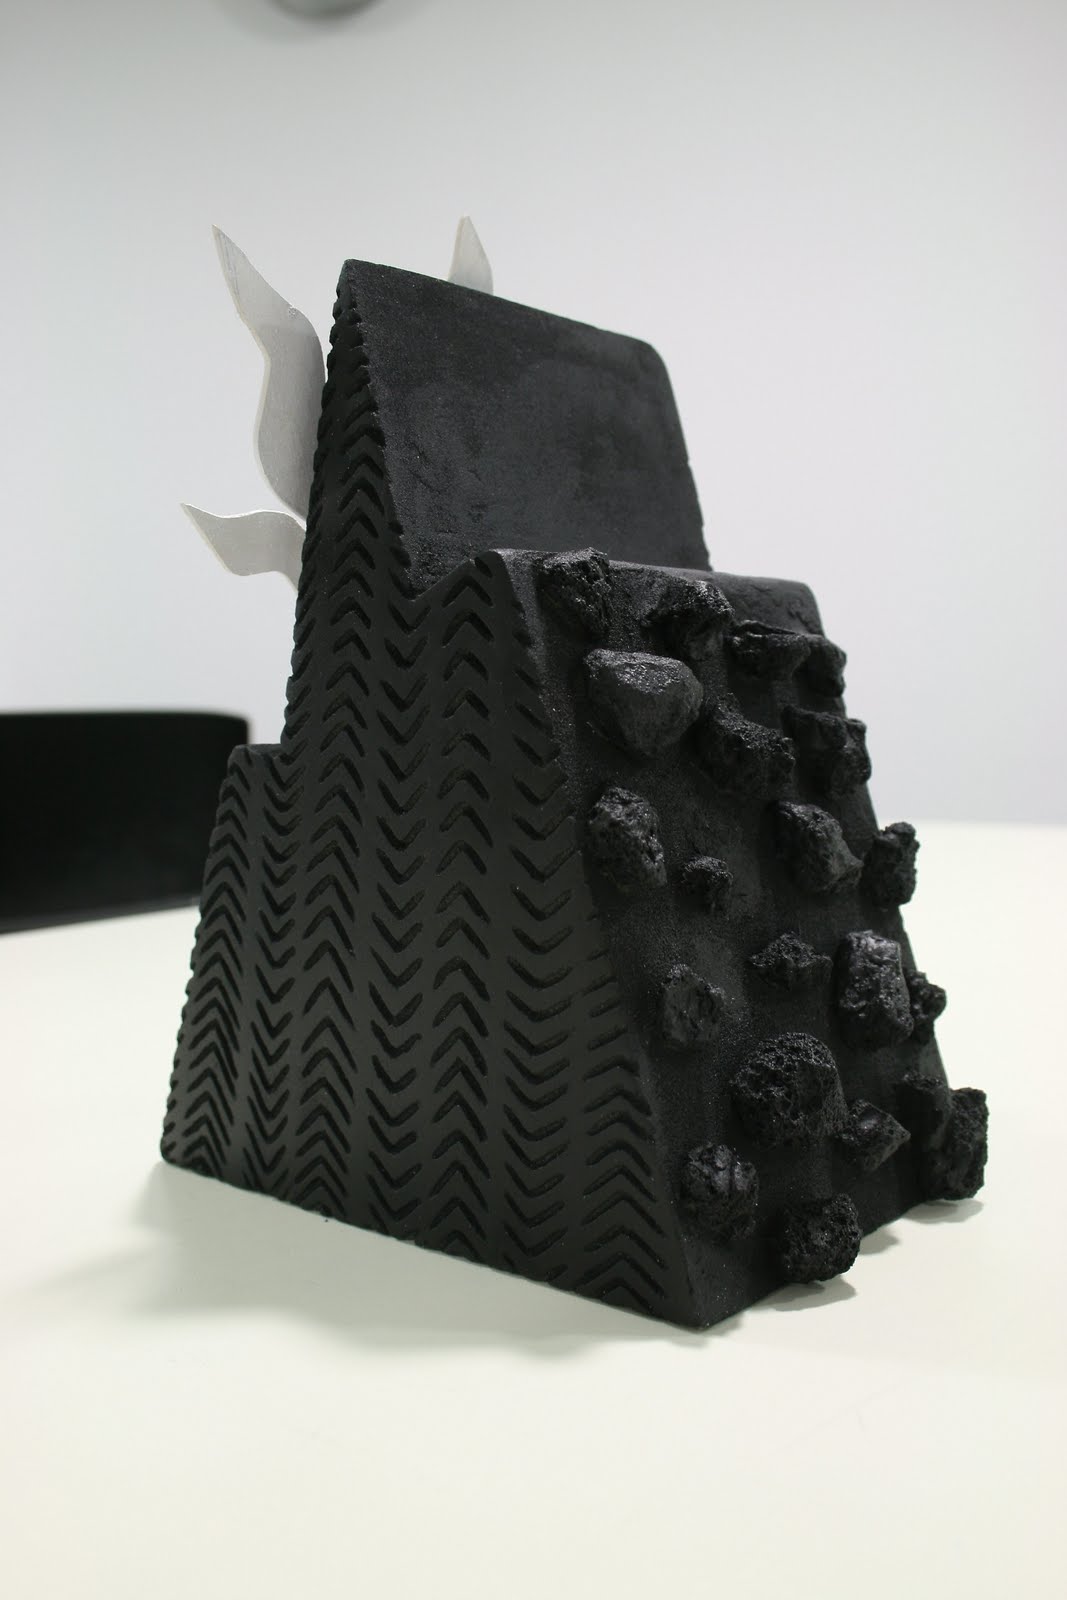
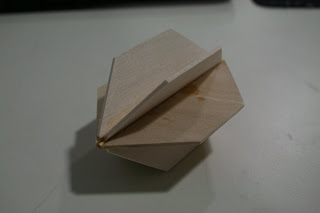
 Although..I mess up with the other half how i cut the same side view so i had to glue it back together with blehm from other scraps of foam that was cut out and fixed that up..It was a worst moment of my life but we picked up the speed of fixing and developing more unknown surfaces from sanding. Heres what we got so far.  


Main complex from this model: tail and front profile


Btw, my partner did most of the work. Haha

First color render


I think I have never rendered in color before in any of my class especially in my Vis. Com. class, we did not render anything in color this semester. I am quite dissapointed so I determined and thought I'd give it a try. By the way, this is not finished obviously. Also, this is quite a bad angle and lighting according to my camera shoot and no, I do not have time to fix, edit or what not and do not know how to do photoshop yet. Yea..what a pity for a Trans. student like me..lol

Vis. Com. Rendering

Assignment: Future woody cars


Saturday, April 10, 2010

Still Life (fun..)


Still life for R. Schefman's class

Cable Car Project

Trans. Studio: Canson Rendering
Cable Car
 
Started on cool greys first then adding any color saturation.

 
Before

After


Some close ups


Design Concept: 6 sided: (3 additive and 3 subtractive) and Composition

6 sided: (3 additive and 3 subtractive)
This came out pretty great! I'm pretty satisfied with this :P


This 10lb foam model came out to be somewhat meaningful. As you can see arrow patterns or tire marks in front side. This pattern came out to be a symbolism of ups and downs in our lives.


Life is difficult. Therefore, you must climb through the hardship and reach to a paramount of success! 

  
Sunny, thank you for your love!


rock climbing :P


Composition
getting started
start out with this little 6 sided arrowhead

 
build some more..

 I've tried different ways to put these together


Final outcome

took some more pictures
(different angles)


Saturday, March 6, 2010

Models 2009

 My Models 1st semester


My Speed Duck


My speed Duck came out really nicely but there was a story behind it. This was a pain when building this..I dropped this model a couple of times which really made me upset. So, I had to use red pudding to cover up the holes and scratches it made. After letting it dry and all, I had to sand a couple of times to level it down to smooth the surface. Then I had to spray primer..Then I had to sand again..again and again..So then my final process was to spraypaint then I was done..but then, It was late due to my lack of care, I had a rough time with this. 
                                         
My Transition Model 


This wasnt that bad as my duck model but it left a little scratch here and there. Oh well, at least its been done with.


My Fishbone Model: Streamline car  


          My first fishbone model          

My Spaceship

I came a long way to make these models accurately. These models takes lots of time to build. Its very time consuming. The ones that are made in 20 lb foam were in my Model Making class and for the Fishbone model was one in my Fresh Trans Studio.

Followers

About Me

My photo
Soph. in CCS majoring in Trans design. Thinking about moving into Auto next yr